There may be broken links in this article, the GROK staff has been notified and is working to resolve the issue.
This article has not been updated recently and may contain dated material.
To Upgrade from Windows 7 to Windows 10:
1. Download Windows 10 Enterprise from TigerWare.
2. After the installation finished, burn the .iso file through Rufus. (Click here to learn how to burn a Windows 10 .iso file)

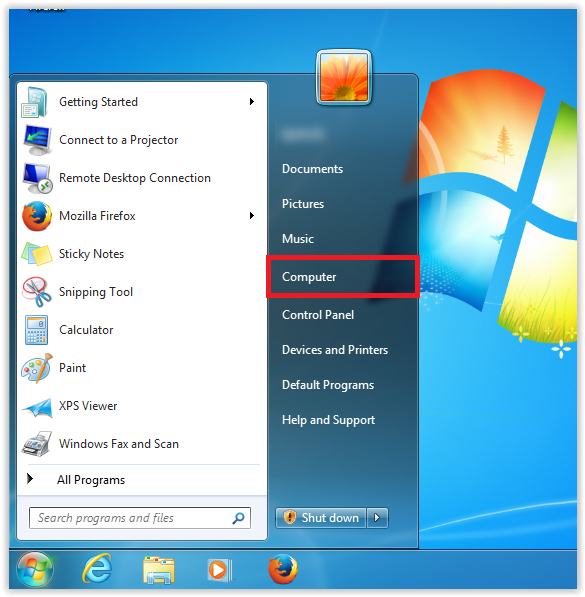
3. Once you finish burning the file, plug your USB device back in. Click on the Start Menu, and select Computer.
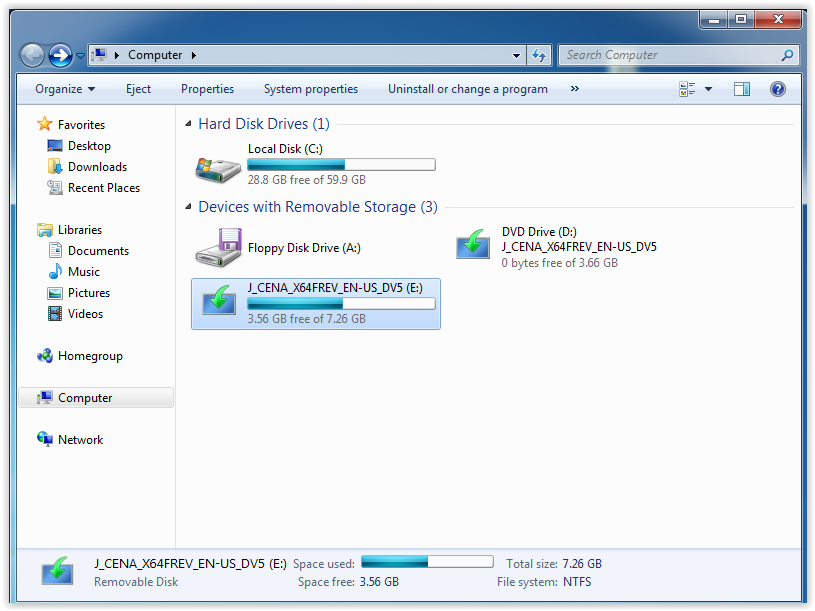
4. Select the Flash Drive where Windows is installed.
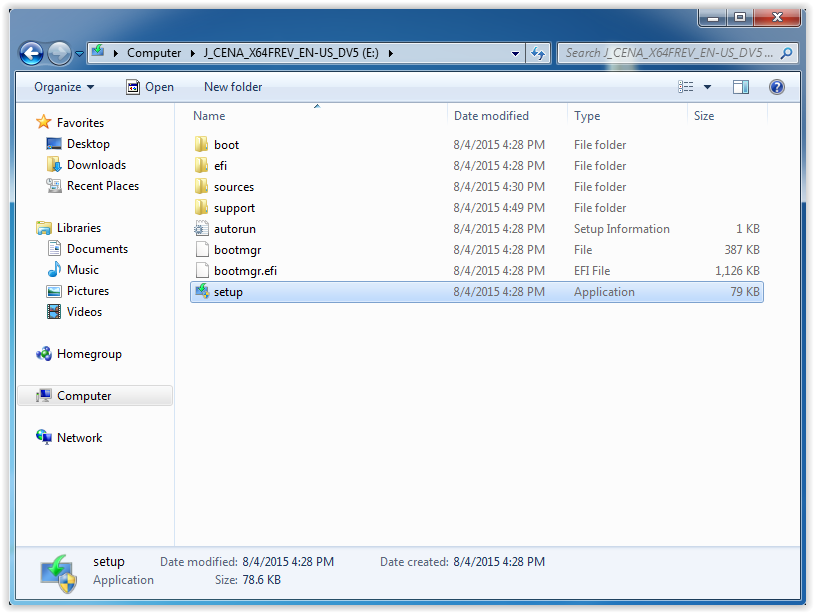
5. Double-Click Setup to start installing Windows.
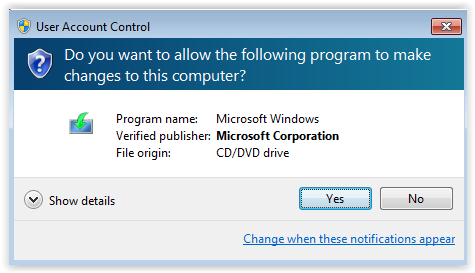
6. If the User Account Control window appears, click Yes.
7. Select Download and install updates (recommended) on the first screen and then Next.

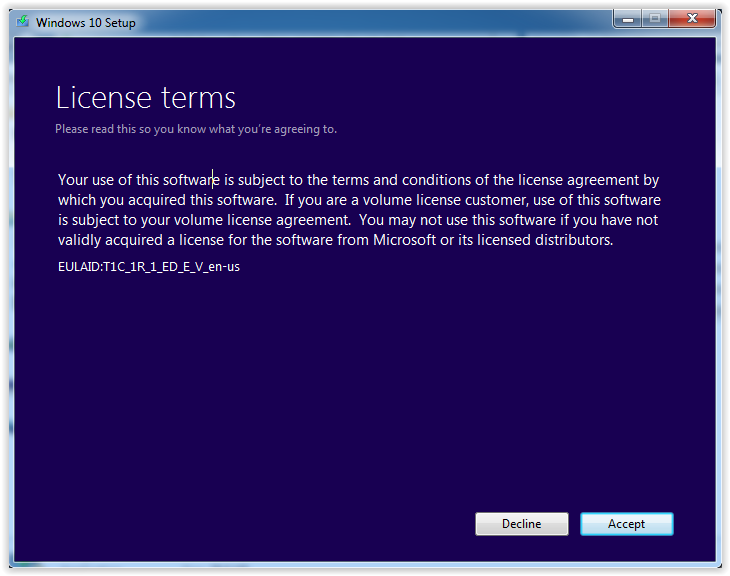
8. Read over the license terms and click Accept in the bottom right-hand corner of the screen.
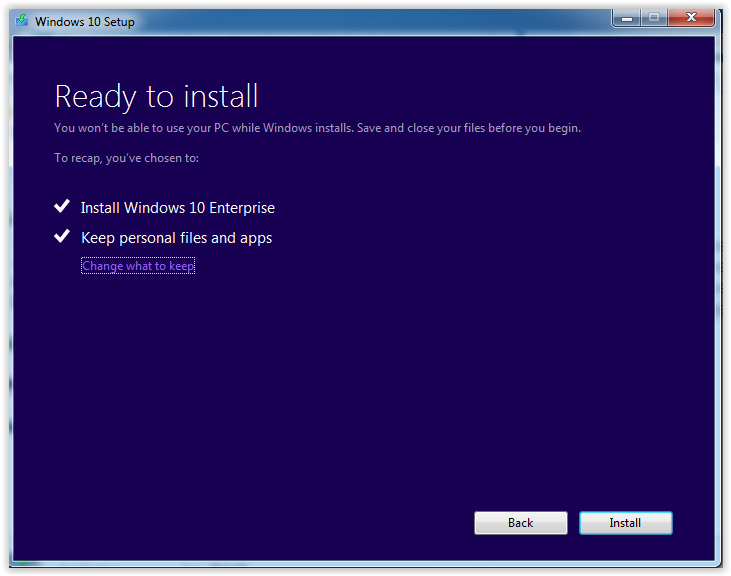
9. The Ready to Install screen should appear. Select Install to begin.
10. Your computer will begin restarting at this point multiple times. Wait for the Upgrading Windows screen to complete.
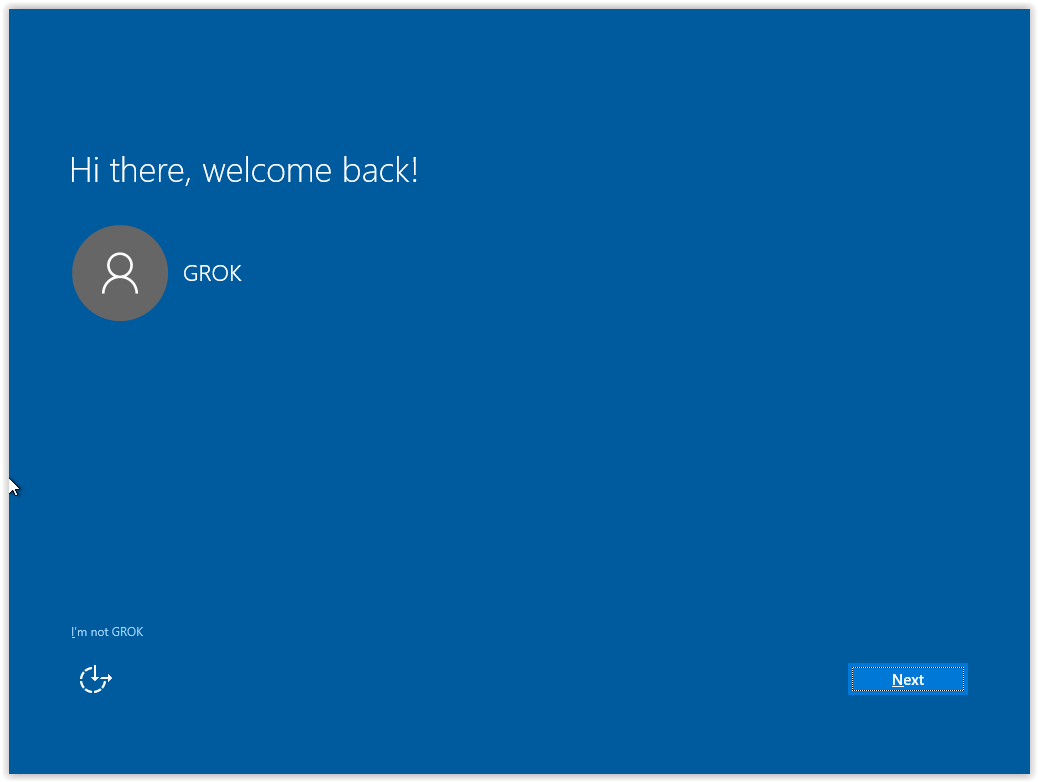
11. Once your computer reboots, select your correct user and then click Next.
12. On the Let's get connected screen, choose the Wi-Fi connection of your choice (eduroam on campus) to continue.
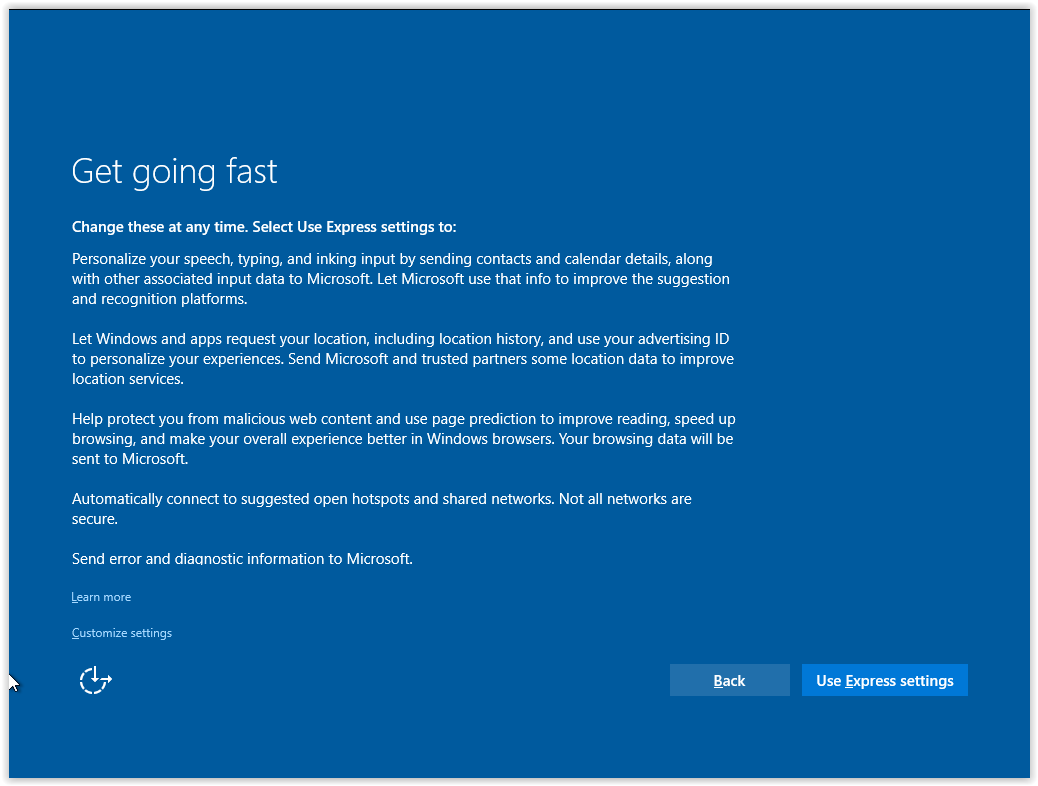
13. Next, select Use Express settings.
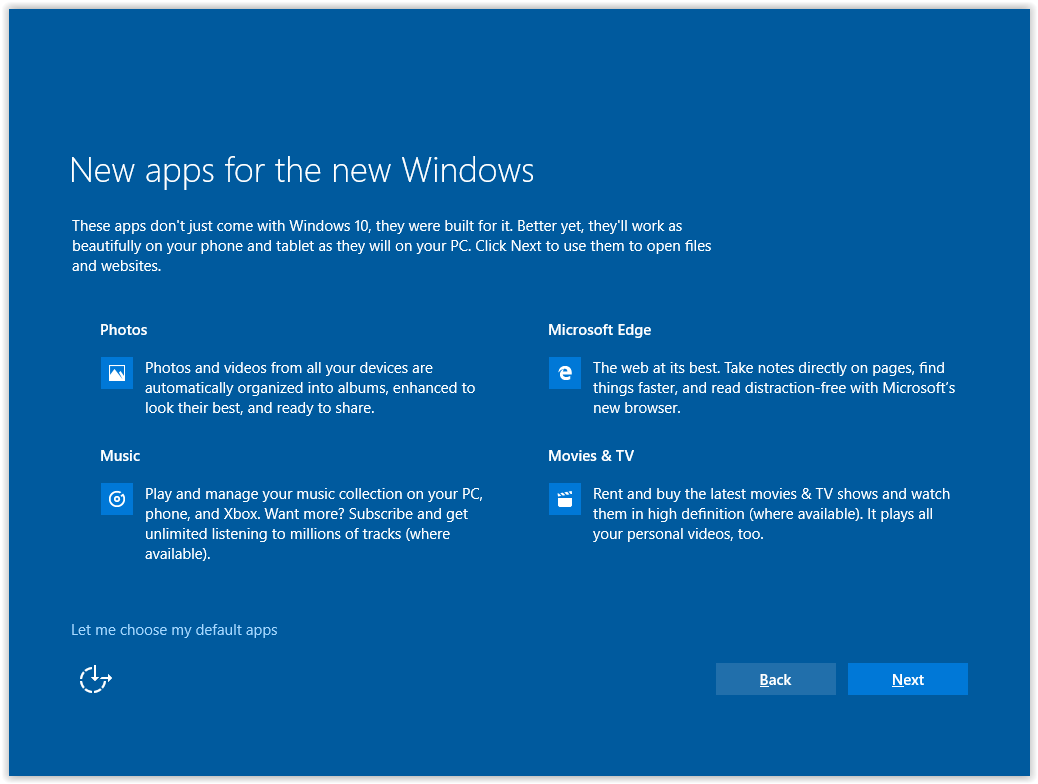
14. On the New apps for the new Windows screen, click Next.
15. Windows will continue finishing the installation. Wait a few minutes until installation is complete.
Referenced from: Microsoft.com