OneDrive for Business (Office365): Desktop App Installation (Mac)
Installing OneDrive for Business on a Mac OS X Operating System:
1. Open the App Store.

2. Once the App Store opens, find the top right corner of the page for the Search Bar and type OneDrive. Press Enter.

3. Locate the OneDrive app from the search list and click on it.

4. To install the app, click Get. The get icon will immediately convert to a green button labeled Install App. Click on Install App to proceed with the installation process.

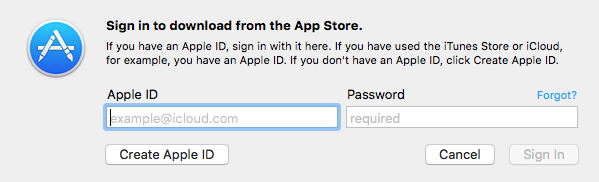
5. If you haven't signed in with your Apple ID, enter your Apple ID and Password.
6. Wait until the installation finishes, and click Open once the installation finishes.

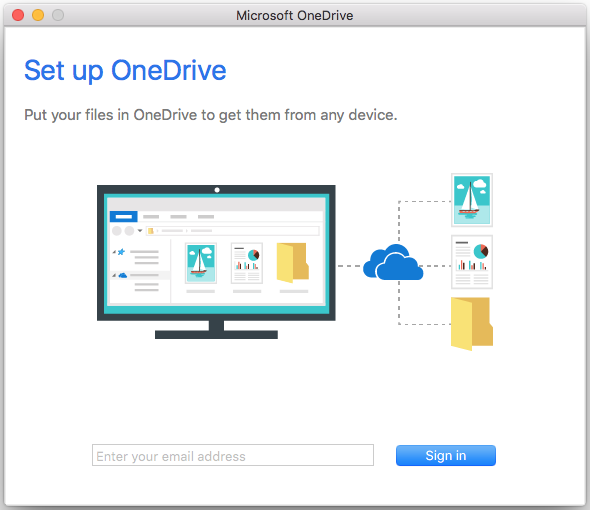
7. The OneDrive app will open. Enter your email address and select Sign In.
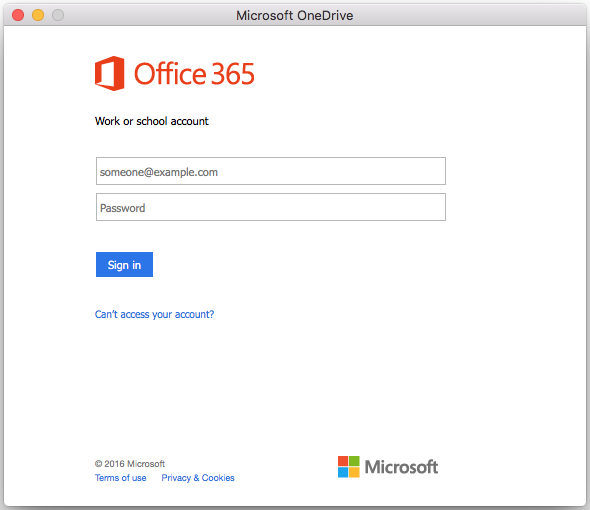
8. Sign in with your Microsoft Account.
- Note: Make sure you sign in with your own personal Microsoft account (ex. @hotmail.com) and NOT with your LSU email account (@lsu.edu). Do NOT use your LSU email.
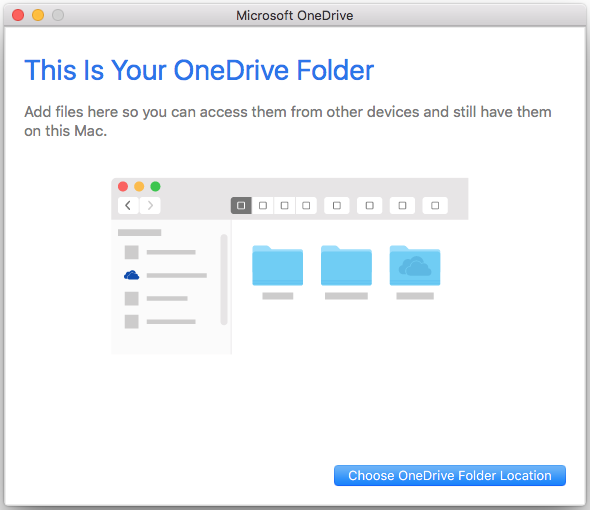
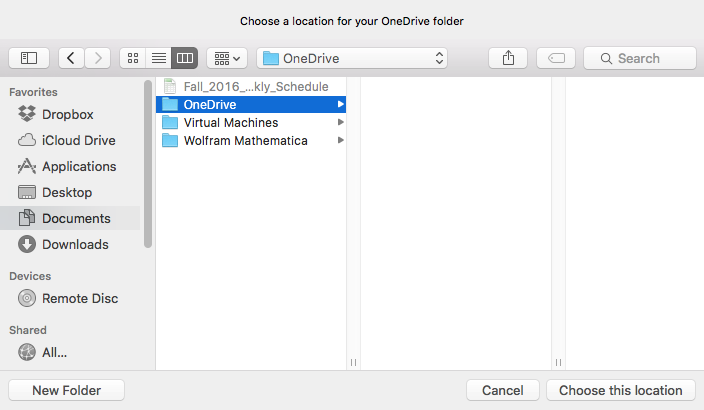
9. Click Choose OneDrive Folder Location to choose the folder desired to sync your documents.
10. Choose the folder desired and select Choose this location.
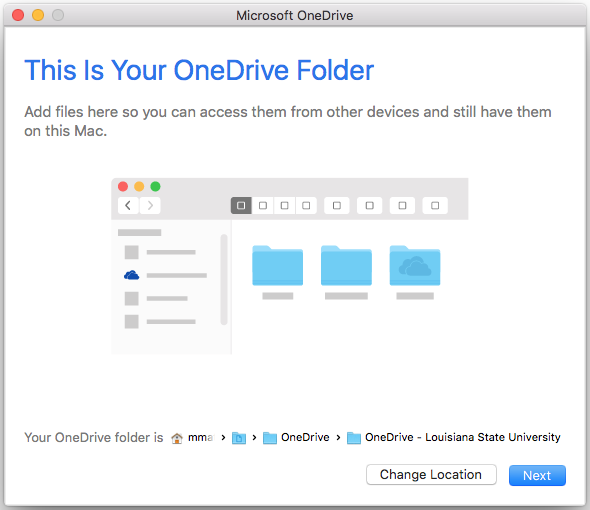
11. Click Next.
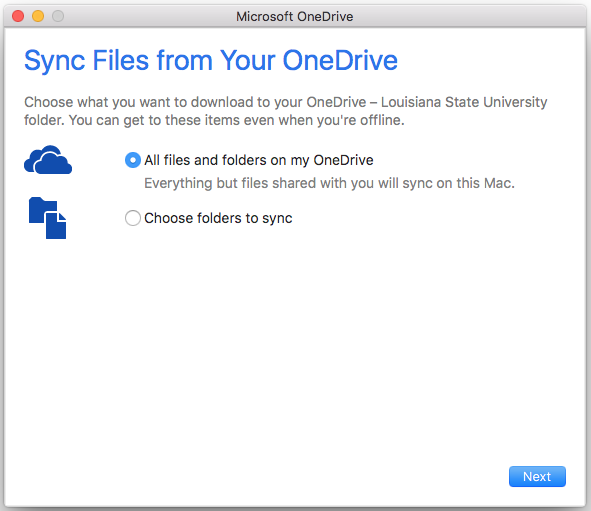
12. Select whether you want all files and folders to be synced, or to selective choose a few. Once you're finished, click Done.
13. You have successfully installed the OneDrive App for Mac.
Referenced from: Apple.com
17971
9/16/2025 4:19:37 PM