PyCharm: Installation Instructions (Windows)
This article has not been updated recently and may contain dated material.
To Install PyCharm on a Windows Operating System:
1. To get to the installer, first you must make a JetBrains Educational Account. (Note: you will have to confirm your account through your email)
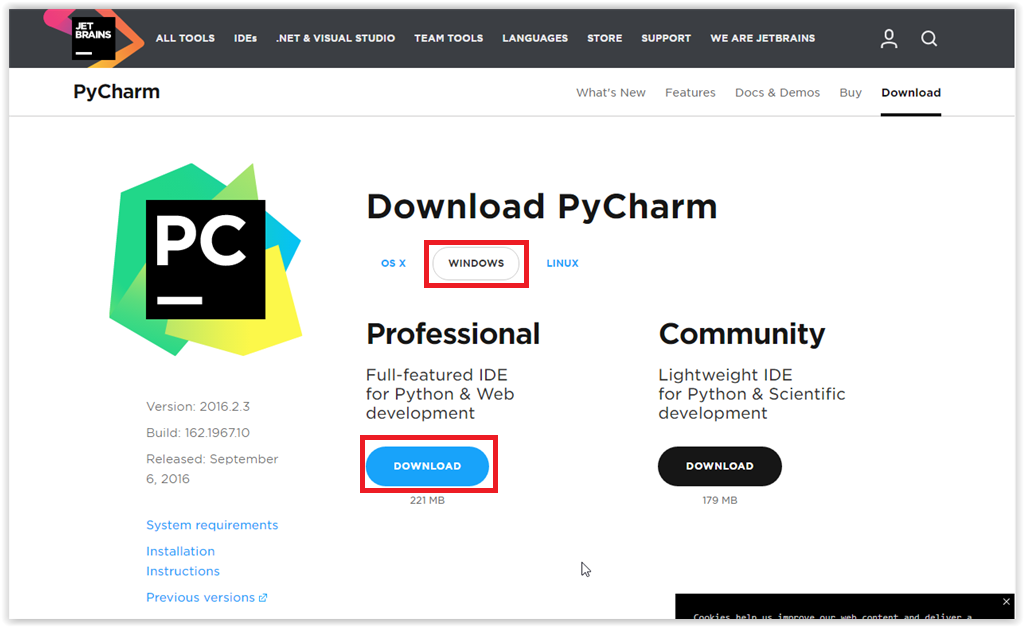
2. Go to the JetBrains website and choose PyCharm.
3. Click the Download button found in the middle of the page or in the top right corner of the screen.

4. After clicking download, the website will ask what platform and whether you wish to download the Professional or Community option. Keep Windows selected and click Professional.
5. After clicking the button, a browser button will appear in the bottom left corner of the screen. When it is done downloading, click the button. If the button does not appear, navigate to your Downloads folder and open the PyCharm setup file.
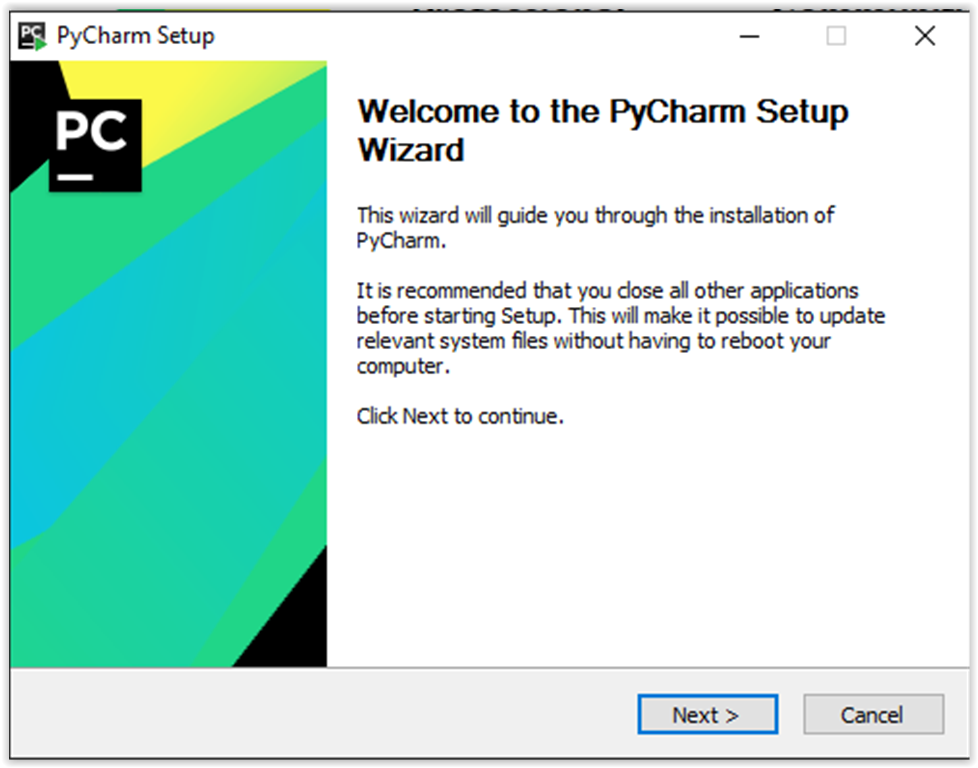
6. The Setup Wizard should open up. Click Next to continue.
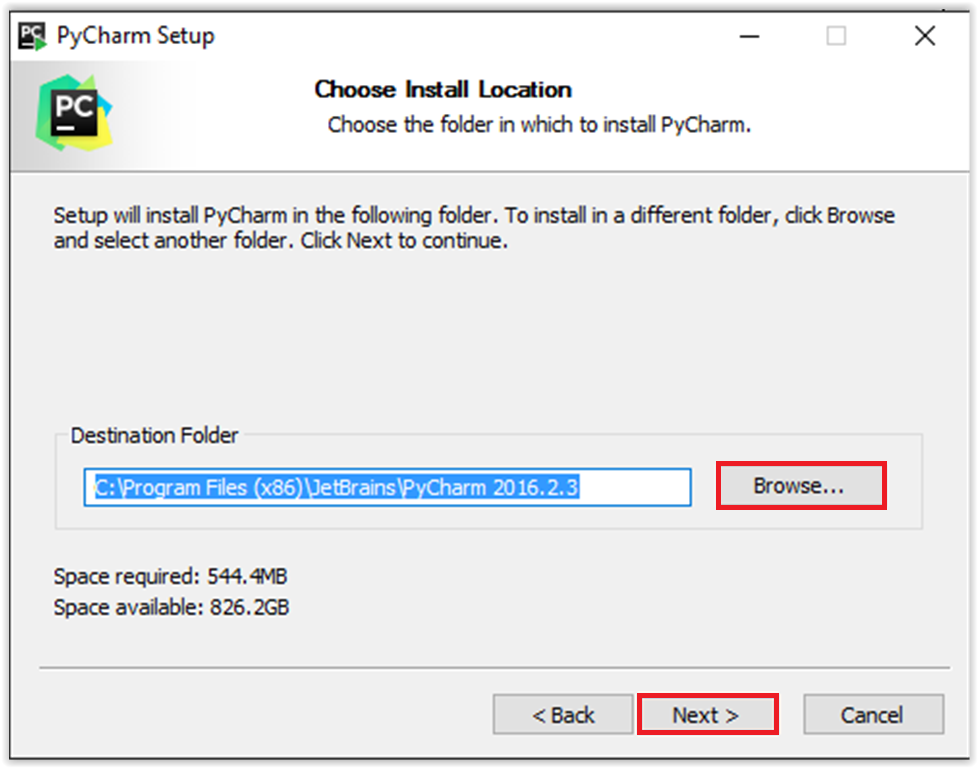
7. The program will ask for an install location. Click Browse if you wish to change the default location. Click Next to continue.
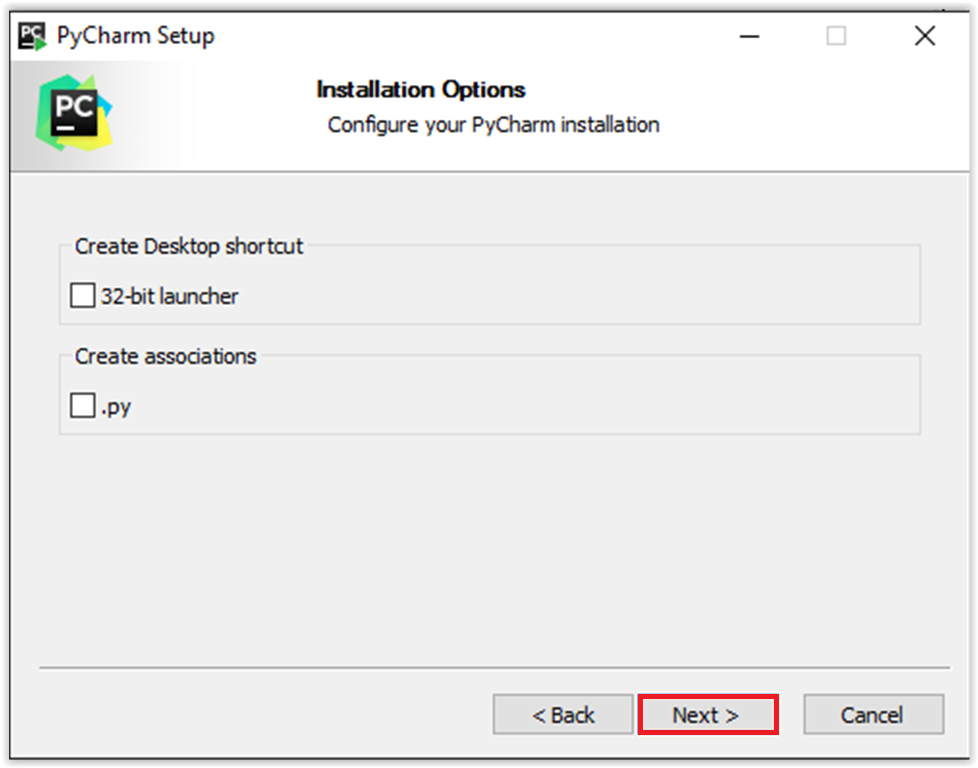
8. Installation options available are 32-bit launcher and ".py". Keep both unchecked and click Next to continue.
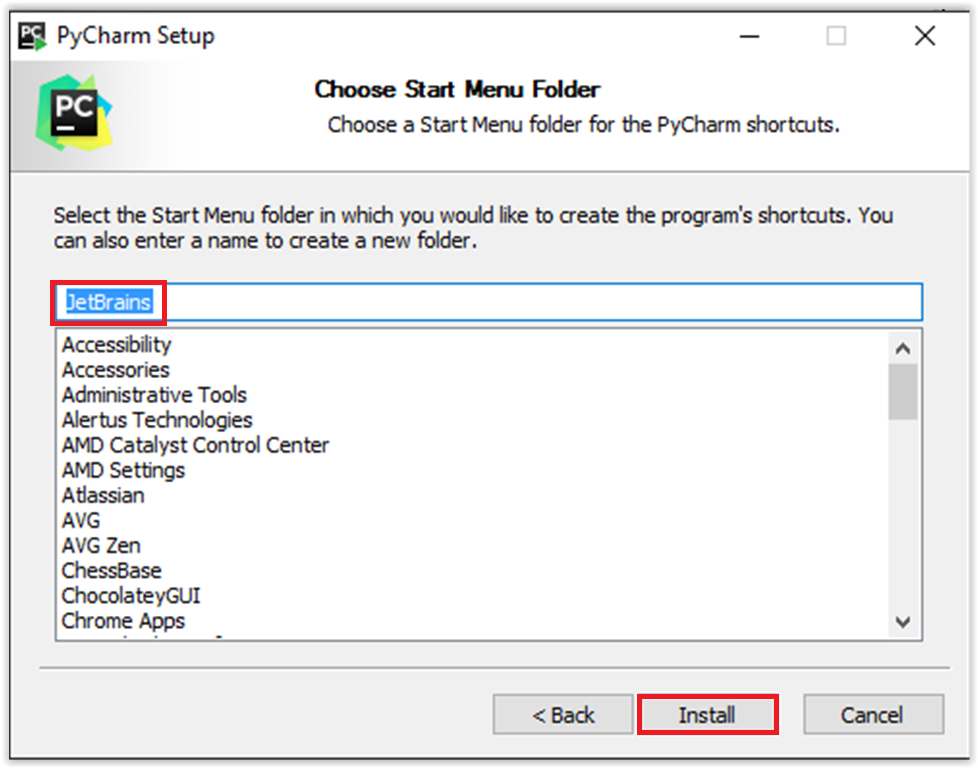
9. Choose a Start Menu Folder. Keep JetBrains selected and click Install.
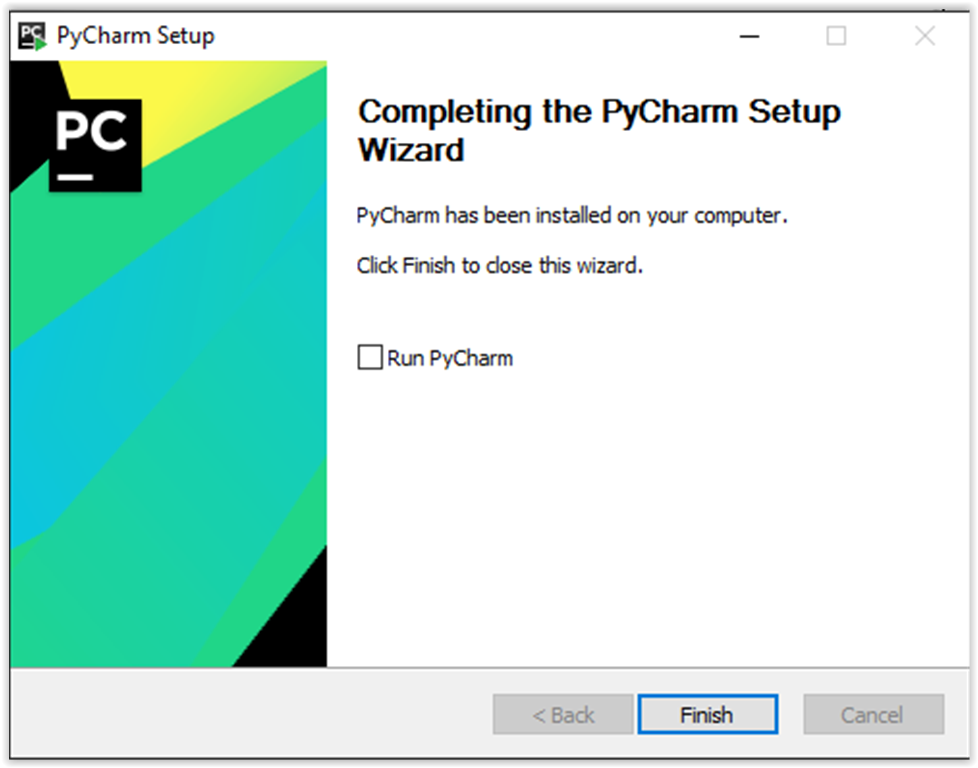
10. When the program is done installing, click Finish.
Referenced from: JetBrains
18815
2/4/2025 8:38:06 AM