Before you can begin recording sessions with Panopto, you will need to log in. To log in to the recorder, follow the steps below.
To Log In on the Panopto Recorder:
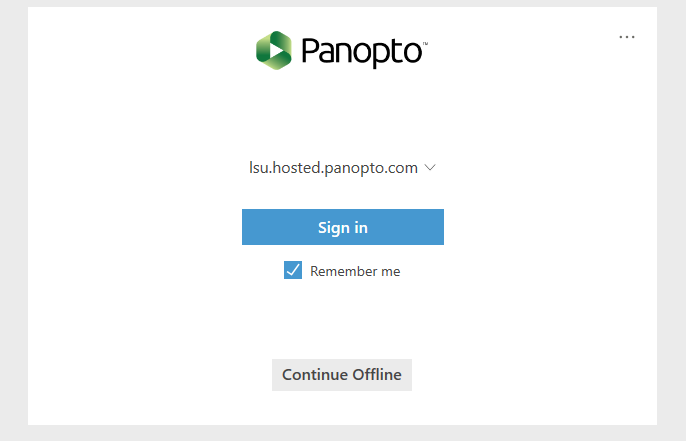
1. Launch the Panopto Recorder on your computer.
2. You will be taken to a login screen. If you need to add a new site address to connect to, enter lsu.hosted.panopto.com and select Add site. Then, click Sign in.
3. You'll then be asked to continue in your web browser. Enter your myLSU credentials and click Login. If you've entered them correctly, you may be prompted by your browser to open the Panopto application once again. Allow the browser to open the application.

4. You are now logged in the Panopto server and are ready to begin recording.
To Begin Recording With Panopto:
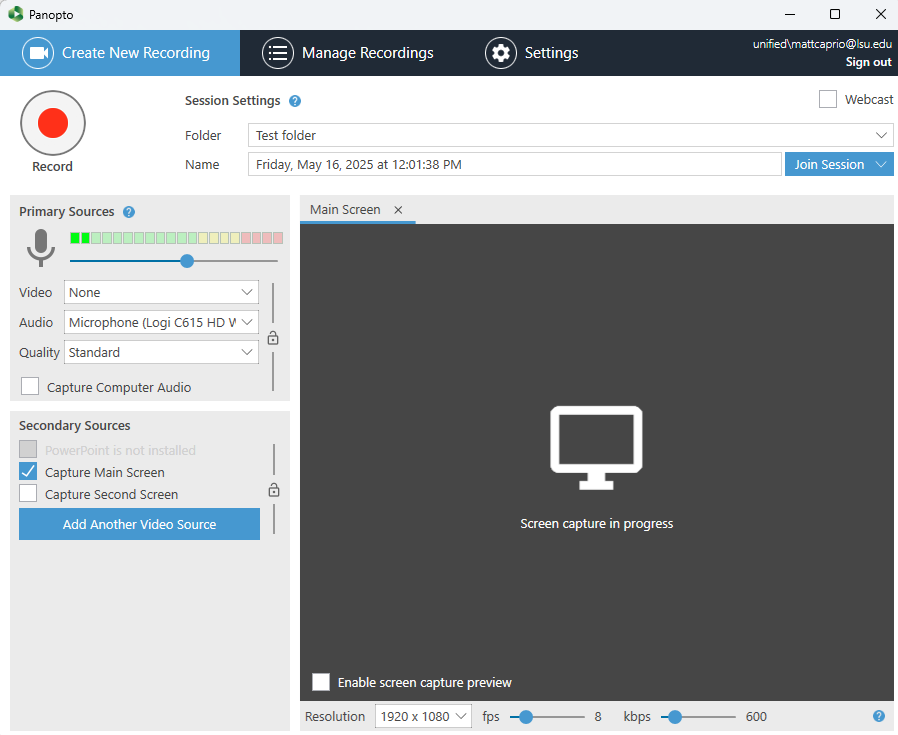
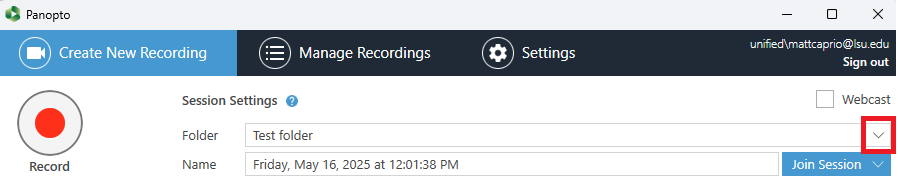
1. First you must select a folder to record your video to. Select the down arrow which is located on the upper right side of the Panopto Recorder Window to view a list of all your folders.
NOTE: Once you select your folder name, your recording will automatically upload to this folder after the recording is completed.
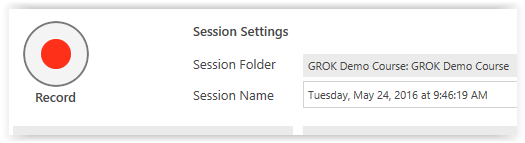
2. Give your session a name.
NOTE: By default, sessions are named by the date and time they are recorded. ITS recommends naming your recording for future viewing.

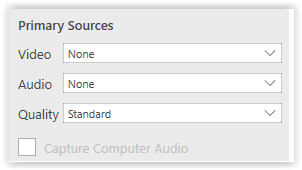
3. Choose a Primary Input for video, audio, and quality.
NOTE: If left blank, problems may occur during upload.
4. Select additional video sources, such as your screen or/and PowerPoint presentation.
NOTE: PowerPoint presentations must be launched in full screen presentation mode.
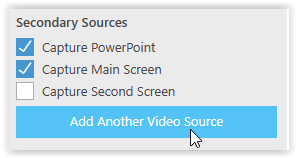
You can adjust the resolution and other settings below the Video Screen as well.

5. Click the red Record button to begin recording. After recording starts, the record button changes to Stop and Pause buttons. To pause your recording, select the Pause button. To stop recording, select the Stop button.
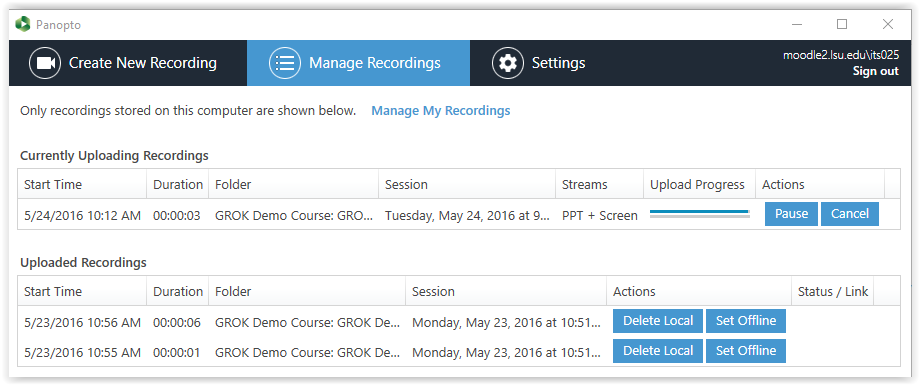
6. After recording, the recording status page will show information for the file. The option to upload and delete sessions will also appear.
Referenced from: Panopto Support