IPv6: How To Enable
This article has not been updated recently and may contain dated material.
How To Enable IPv6
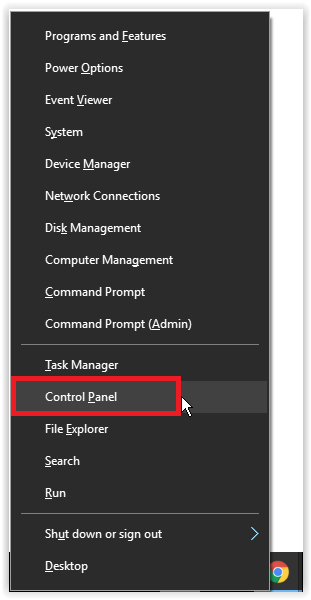
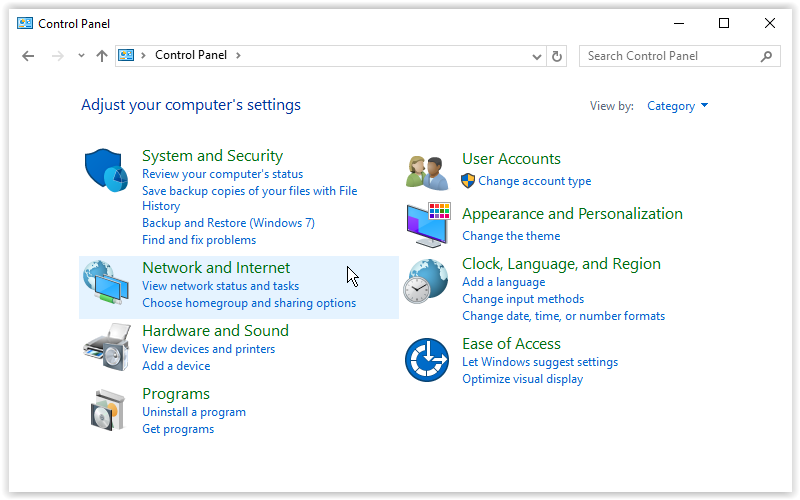
1. From the Control Panel (Windows Key + X), select Network and Internet.
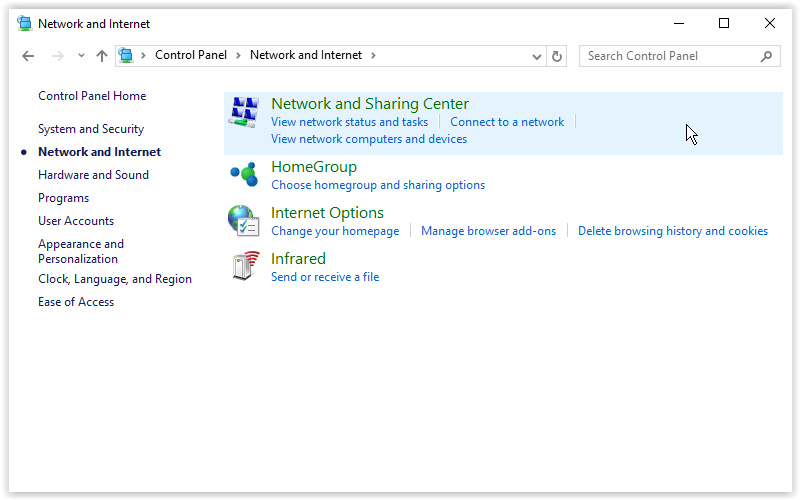
2. Open Network and Sharing Center.
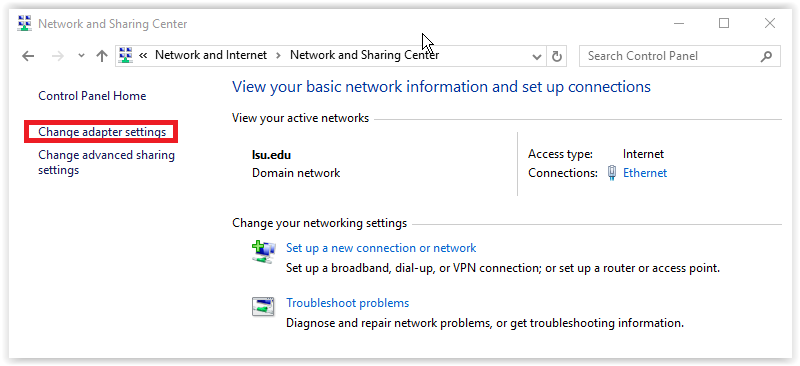
3. Click Change Adapter Settings.
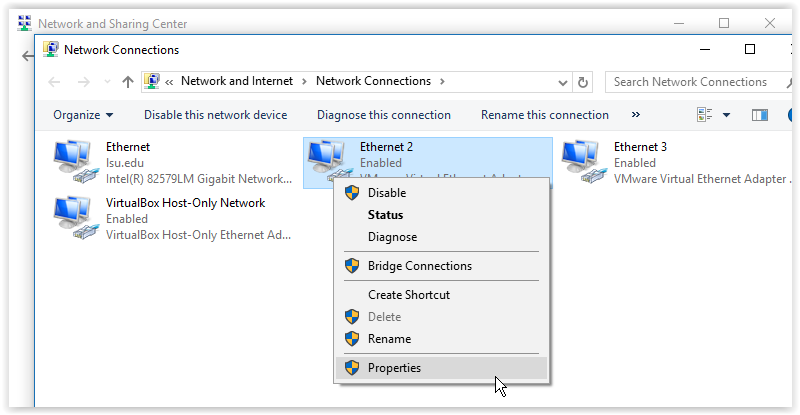
4. Right-click your connection and go to Properties.
5. In the middle of the window, check the box next to Internet Protocol Version 6 (TCP/IPv6).

6. At the bottom right of the screen, select OK to confirm the change.
Referenced from: thewindowsclub.com
17571
1/24/2024 12:43:00 PM